Why Your WooCommerce Checkout Is Not Working — And How to Fix It Fast
WooCommerce checkout has gotten complicated with all the conflicting advice flying around. Clear your cache. Reinstall WooCommerce. Call a developer. Meanwhile, customers are abandoning carts and you’re watching real money leave in real time. I’ve been there — staring at a broken payment page at 11pm, trying seventeen things that didn’t work before finding the one that did. Today, I will share it all with you.
The honest truth? Most checkout failures come down to the same handful of problems. You can diagnose and fix this yourself in under an hour. No developer, no mystery, no waiting until Tuesday.
The Most Common Reasons WooCommerce Checkout Breaks
But what is a “checkout failure,” really? In essence, it’s any point where a customer can’t complete a purchase — from a broken form to a silent payment error. But it’s much more than that. The cause matters enormously, because a caching bug and a misconfigured API key look almost identical from the customer’s side.
Here’s what’s probably happening:
- A caching plugin is serving stale checkout pages — WP Rocket or W3 Total Cache cached the page before an update broke it. Browsers keep loading the broken version.
- A newly activated plugin conflicts with WooCommerce — Security tools, page builders, and form plugins clash with checkout scripts constantly. No warning. Just broken.
- Your SSL certificate is missing or expired — Payment gateways won’t touch non-HTTPS pages. This gets misdiagnosed as a gateway bug more than anything else on this list.
- Payment gateway credentials are misconfigured — Test keys in production, or live keys that don’t match your actual account. Happens more than people admit.
- WordPress or WooCommerce needs an update — Outdated code with known checkout bugs that patches already fixed, sitting there quietly causing chaos.
- Your theme has a checkout template conflict — A custom child theme override breaking the form or payment section somewhere you’d never think to look.
- Session data got corrupted — Cart sessions expired or became unreadable. Customers hit a wall with no useful error message.
One of those seven is your problem. Let’s find it.
Start Here: Clear Your Cache and Test in Incognito
Probably should have opened with this section, honestly. People skip it because it sounds too simple. It isn’t.
Caching plugins — WP Rocket, W3 Total Cache, LiteSpeed Cache, Cloudflare — save your checkout page as a static file after the first load. Update WooCommerce or change checkout settings, and the cache doesn’t know. Customers get the old broken version. You spend two hours debugging code that’s actually fine. That’s what makes this so maddening to us store owners.
Clear the cache right now:
- Open your WordPress dashboard and find your caching plugin.
- Look for a “Purge Cache” or “Clear Cache” button — usually in the main plugin menu or pinned at the top of the screen.
- Click it. Wait about 10 seconds.
- Open a private or incognito browser window and navigate to your checkout page.
- Add an item to the cart and fill out the form.
Did it work? You’re done. Close this article, go tell your customers the site’s back up.
Still broken? Keep that incognito window open for the next steps — it bypasses your browser cache entirely and makes sure you’re testing with fresh data every time.
How to Find the Plugin Causing the Conflict
A plugin conflict is the second most likely culprit. Something was installed or updated three days ago, and now checkout doesn’t work. That’s the pattern, almost every time.
The fix is methodical but nearly foolproof: disable every plugin except WooCommerce, test checkout, then turn plugins back on one at a time until it breaks again. That’s your criminal. So, without further ado, let’s dive in.
- Go to Plugins in WordPress.
- Find the first plugin you want to test. Click Deactivate.
- Switch to your incognito window and test the checkout form.
- If checkout works, that plugin was the problem — skip to the next part below.
- If it still fails, reactivate that plugin and deactivate the next one. Repeat until something changes.
Tedious with 15 plugins? Yes. Do it anyway. It takes maybe 15 minutes and eliminates pure guesswork.
The usual suspects: Wordfence and Sucuri add validation rules that clash with WooCommerce’s payment form — probably the most common offender I’ve run into. Elementor and other page builders sometimes inject JavaScript that quietly destroys checkout scripts. WPForms and Gravity Forms occasionally interfere with payment fields in ways that are genuinely hard to predict.
I’m apparently sensitive to security plugin conflicts, and Wordfence works for me only after adjusting the firewall rules, while Sucuri never plays nice with my Stripe setup without a compatibility tweak. Don’t make my mistake — check these first.
Once you’ve identified the bad plugin:
- Check the plugin’s settings page — there’s sometimes a toggle to disable validation on specific pages, or a “WooCommerce compatibility” mode buried in the advanced options.
- Check for an update. The developer may have fixed the conflict in version 2.4.1 or something equally mundane.
- Contact the plugin author with the exact error message — see the payment gateway section below for where to find it.
- Find an alternative if the conflict can’t be resolved. There are usually three solid options for any major plugin category.
Payment Gateway Errors and How to Fix Them
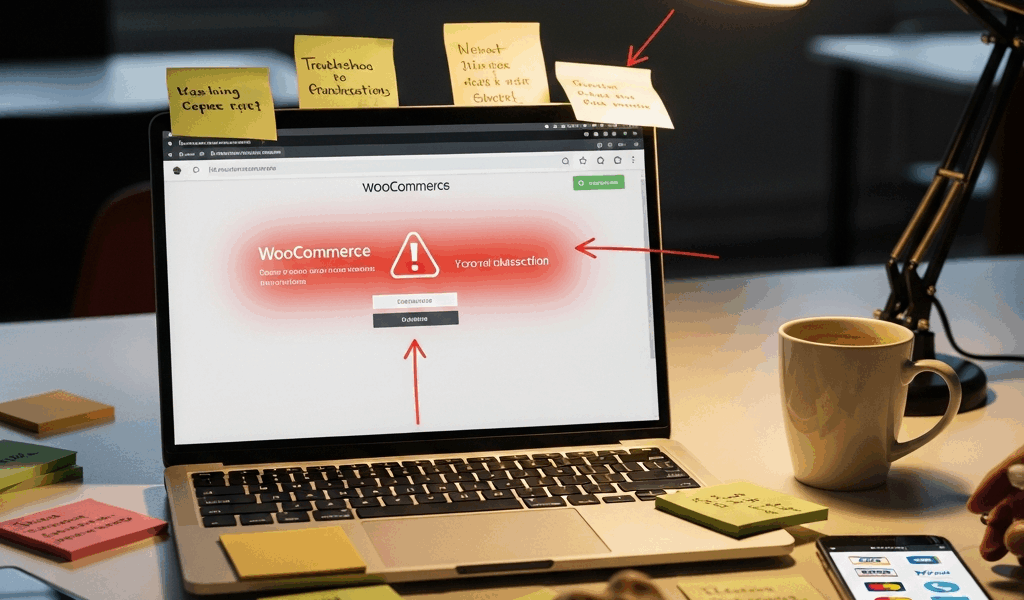
Checkout form loads fine but payment fails. That’s a gateway issue — and the errors are specific if you know where to look.
Where to find the actual error message: Go to WooCommerce → Status → Logs. Find a file dated today. Open it and read it. “Invalid API key.” “SSL certificate invalid.” “Test mode enabled.” The log will say exactly what went wrong.
For Stripe: Mismatched API keys are the most common problem. You copied your test publishable key instead of your live one, or test keys are running against real transactions. Go to WooCommerce → Settings → Payments → Stripe and confirm that live keys are filled in — not test keys. Also verify your Stripe account is actually activated for live payments. New accounts start in test mode by default. That was probably my mistake the first time too.
For PayPal: Expired credentials are the killer here. Log into your PayPal business account, regenerate your API signature, or create a new app password. Copy the new credentials into WooCommerce exactly as PayPal displays them — one wrong character and it fails without a useful error message.
For Square: Mismatched environments trip people up constantly. Sandbox mode toggled on during a live transaction, or vice versa. Open your Square settings in WooCommerce and confirm the “Sandbox/Test Mode” toggle actually reflects what you’re trying to do.
The SSL issue that gets misdiagnosed as a gateway problem: Most payment processors refuse to load on non-HTTPS pages. If your browser shows “Not secure” in the address bar, nothing will work — you’ll see errors like “Stripe failed to load” or “PayPal connection refused.” Your host often includes a free SSL certificate. Force HTTPS through Settings → General and change your site URL from http:// to https://. Simple fix, weirdly easy to miss.
When to Contact Your Host or WooCommerce Support
Sometimes the problem genuinely isn’t on your end. Cache cleared, plugins tested, gateway keys verified — and checkout still fails. Now it’s time to bring in backup.
Signs you’re looking at a server-level issue:
- The error log shows “Fatal error” or “memory exhausted” — your PHP memory limit is too low to process checkout. Common on budget hosting plans.
- Database connection errors or “Error establishing database connection” appearing in the logs.
- SSL errors saying “certificate chain incomplete” or “self-signed certificate” — your host’s SSL setup is broken on their end.
- Checkout works in Chrome but not Firefox, or on mobile but not desktop — usually a JavaScript conflict, but sometimes a host-level configuration problem.
When you contact support, bring these three things:
- The WooCommerce system report. Go to WooCommerce → Status → System Status. Click Get System Report at the bottom. Copy the whole thing.
- The error log file. Found at WooCommerce → Status → Logs.
- A list of what you already tried. “I cleared the cache, disabled every plugin except WooCommerce, and verified my SSL certificate.” This keeps support from walking you through steps you’ve already taken — which saves everyone about 20 minutes.
A good host support team can pinpoint server-side issues fast once they have that information. You might feel slightly foolish if the fix turns out to be simple. You’ll also feel relieved. That’s the whole point.
Your checkout will work again. Start with cache, move to plugins, check your payment gateway — and escalate only if none of that moves the needle. Ninety percent of the time, one of those first three fixes is all you need.


Stay in the loop
Get the latest web sme updates delivered to your inbox.