Why Zapier Automations Fail Silently
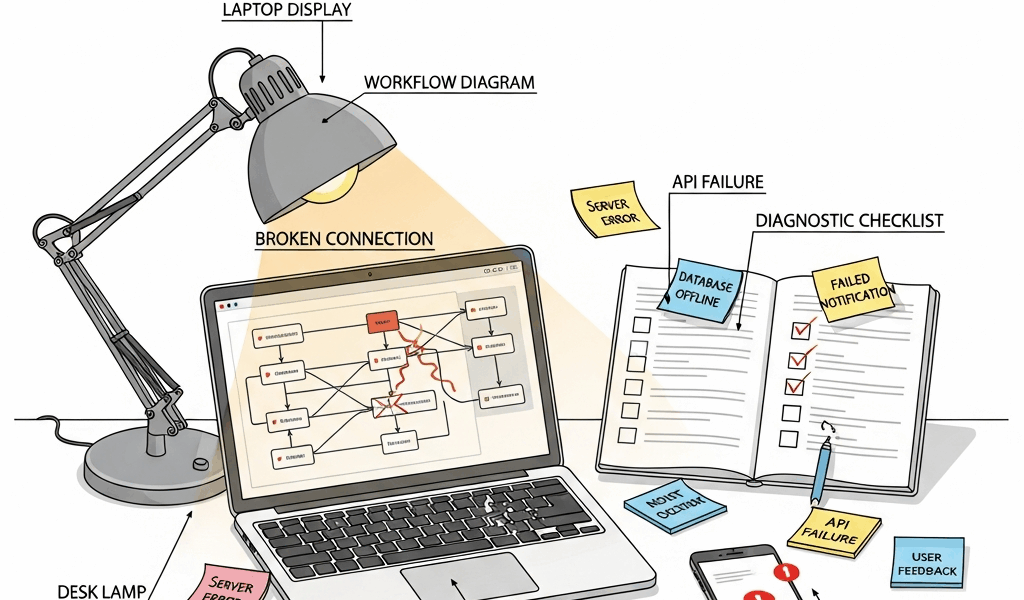
Your Zapier automation isn’t triggering—and honestly, it’s probably not what you think. I’ve spent months digging through Zapier configurations across finance, e-commerce, and SaaS teams, and here’s the thing that keeps coming up: a zap can sit there looking “on” while doing absolutely nothing. It’s just checking for events that never show up, or events that arrive but don’t match what you’re looking for. Meanwhile you’re refreshing your dashboard wondering where everything went.
The silence is the real killer. Zapier doesn’t warn you. No error notification. No red banner. Nothing.
What’s actually going on underneath? A trigger waits for an event — a new Shopify order, a Gmail label, a Typeform submission. That event either never reaches Zapier in the first place, arrives but doesn’t match your filter logic, or gets blocked by permission issues. Then separately, your action might be running fine but choking at the finish line — your destination app rejects the data because authentication expired or the connected account lost write access. You need to figure out which stage is actually broken.
I’m going to walk you through the exact workflow I use. It’ll help you isolate whether the problem is your trigger, your filter settings, your action, or Zapier’s own limits.
Step 1 — Reconnect Your Trigger App Account
Probably should have opened with this section, honestly. API tokens don’t usually announce when they expire. They just fail silently and take your automation with them.
When you first connect Shopify, Gmail, Typeform, or Airtable to Zapier, you’re handing over permission via an OAuth token. That token comes with an expiration date — maybe 30 days, maybe 90, maybe longer. Sometimes the app revokes it if you change your account password or reset your security settings. Your zap keeps running, but the trigger never sees new events because Zapier can’t authenticate anymore.
Here’s the fix:
- Open your zap and click the trigger step (the blue box at the top)
- Look for a “Reconnect” button or a small warning icon next to your app name
- If you see either, click it and re-authenticate using your app’s login credentials
- If you don’t see a warning, click the trigger app itself and scroll down to the account field
- Click the dropdown and select “Reconnect [App Name]”
- You’ll land on a login screen — complete the OAuth flow and return to Zapier
For Shopify: You need Admin access to your store. If someone else set up the original connection with different permissions, ask them to re-authorize or upgrade your account role.
For Gmail: If you enabled 2FA after connecting, Google often revokes the token. The reconnect flow will walk you through verification again.
For Typeform: Tokens expire after 90 days of inactivity. If your form hasn’t been used in that window, reconnect before things break.
For Airtable: Make sure the account you’re reconnecting with has access to the specific base you’re using. Airtable won’t surface data if your token can’t reach the workspace.
Save your zap after reconnecting. The trigger should start firing again within 2–5 minutes.
Step 2 — Check Your Trigger Settings Against Source Data
I learned this one the hard way. Built a Shopify automation last year that was supposed to catch all orders over $500. It ran exactly zero times in two weeks despite tens of orders coming through. Turned out the order total field was coming through as a string (“500.00”) not a number, so my “greater than 500” filter was comparing text to a number. Zapier silently rejected every single match.
Filter logic errors are the second-most-common reason automations don’t fire. Your trigger is receiving events. Zapier is connecting fine. But your filter rules don’t match the actual data structure or values coming in.
Here’s how to verify:
- Open your zap and click the trigger step
- Scroll down to the “Only continue if…” section (if you have filters set)
- Look at each condition: “If [Field] [Operator] [Value]”
- Go back to the source app and check a recent event’s raw data
For Gmail, open an email and check its label name exactly — including capitalization and spacing. If your filter says “contains: invoice” but the label is “Invoices,” it won’t match.
For Shopify, check the order’s tag field in the admin. Zapier receives tags as a comma-separated list, not individual items. A filter like “tag contains: rush” will work on an order tagged “rush, wholesale” but fail silently on an order with just “express-rush” because the exact string doesn’t exist.
For Typeform, field values often include extra whitespace or specific formatting. A yes/no question might return “Yes ” with a trailing space. Your filter “equals: yes” won’t catch it.
The fix: Edit your filter to use “contains” instead of “equals” when possible. Or remove the filter entirely, run the zap for one test event, and check the task history to see what the actual data looks like. Then add your filter back with the correct values.
Step 3 — Test Your Action and Reconnect App Permissions
This is where most zaps fail without anyone realizing it. The trigger is working. The filter is matching. Zapier is ready to send data. Then the action fails because the destination app’s connection expired or lost permissions.
Your automation ran — task history shows it. But the data never landed in Salesforce, Google Sheets, or Slack because the account Zapier was trying to write to doesn’t have permission anymore.
How to catch this:
- Open your zap and scroll to the action step (the green box)
- Click the “Test” button on the right side of the action step
- Zapier will attempt to perform the action using sample data from your trigger
- If it fails, you’ll see an error message: “Account not authorized,” “Invalid permissions,” or “Workspace not found”
- If the test passes, your zap is likely working
When the test fails:
- Click the action app name and select “Reconnect [App Name]”
- Re-authenticate with the destination app
- Make sure the account you’re signing in with has write access to the specific resource — the Slack channel, the Airtable base, the Google Drive folder
- Click “Test” again
Common permissions issues: A Slack bot added to a workspace but not a specific channel. A Google Sheet owned by someone else where your account has “Viewer” access instead of “Editor.” An Airtable base where your account was removed from the team. A Salesforce org where the API integration user lost access.
Also check the task history for previous failed runs. Click the X icon next to a failed task to see the error. This tells you whether the action failed because of permissions, invalid data format, or a bug in your field mapping.
Step 4 — Check Zapier Rate Limits and Pause Rules
This is the gotcha most people don’t know about. Even if your trigger and action are perfect, Zapier can pause your zap automatically if you hit rate limits or account thresholds.
Zapier has internal rate limits that vary by app. If your trigger fires faster than Zapier can process tasks, your zap will pause to protect its infrastructure. It doesn’t email you. It just stops. You might assume nothing is happening when really Zapier hit a ceiling and stepped back.
Additionally, Zapier has account-level pause triggers. If you exceed your task cap for the month, all zaps pause until your plan renews. If your account is flagged for unusual activity, automations pause temporarily while they review.
What to check:
- Go to your Zapier dashboard home screen
- Look for a yellow or red warning banner at the top mentioning “paused” or “action required”
- Click your account icon (top right) and go to “Account Settings” then “Billing”
- Check how many tasks you’ve used this month relative to your plan limit
- Visit status.zapier.com and check if Zapier or your trigger/action apps are experiencing outages
- If you see a zap status as “Paused,” click it and look for a message explaining why
If you’ve hit your task cap, upgrade your plan or wait for your billing cycle to reset. If there’s an account hold, check your email for a support message — Zapier sometimes locks accounts if they detect suspicious activity.
When to Contact Zapier Support
After walking through those four steps, most automations start working again. But some failures sit outside your control. Webhook timeouts, API-level errors from the source app, or bugs in Zapier’s connector itself.
Contact Zapier support if:
- The test succeeds but your live trigger never fires
- Task history shows errors like “Webhook timeout” or “Connection refused”
- The source app documentation confirms it supports webhooks, but Zapier won’t establish the connection
- You’re using a custom API request and getting authentication failures despite valid credentials
When you email support, include: the zap ID (visible in the URL), recent task history links, and the exact error message. Zapier’s support team usually responds within 24 hours.

Stay in the loop
Get the latest web sme updates delivered to your inbox.